What is AWS CDK and How it Works?
Within a short span of time, AWS Cloud Development Kit (CDK) has become an indispensable tool for developers and DevOps teams. Given how this open-source softwa

Within a short span of time, AWS Cloud Development Kit (CDK) has become an indispensable tool for developers and DevOps teams. Given how this open-source softwa
Within a short span of time, AWS Cloud Development Kit (CDK) has become an indispensable tool for developers and DevOps teams. Given how this open-source software development framework has become all the rage today, let’s dive into what AWS CDK is, talk in brief about AWS CDK setup, what it is all about and how it works.
So let’s get started!
What is AWS CDK all about?
CDK stands for Cloud development Kit and is a tool from AWS cloud services to write infrastructure as code.
In CDK you import modules for AWS resources such as lambda and s3 bucket / API gateway and using the functions provided, you specify the resources for your application
You don’t have to go to AWS to create resources manually, as all the resources are automatically created once you deploy your infrastructure as code on AWS.
Since it's a code file, you can store it anywhere such as in GitHub repo and deploy it on any AWS account whenever you need to.
How does AWS CDK work
AWS already has a tool called cloudformation template where you write YAML code to define your AWS resources. However, when learning and building with this template, there are various complexities involved.
But with AWS CDK, you can use your existing knowledge of programming languages like javascript/python/java, etc to define your stack.
Once you define your resources and hit the build command, CDK will create a YAML cloudformation template for your stack. This removes the added complexity to learn and implement the cloudformation template.
CDK v1 Vs v2
In CDK version 1 you need to install individual packages for each AWS resource (lambda/ s3 / API gateway, etc). However, with this approach you work with only those libraries required. But it also creates an issue with tracking and managing your resource libraries as different versions of the libraries are not compatible with each other and when a new resource has to be added it has to be of the same version as your previously installed libraries or you need to upgrade them with the latest version.
With CDK version 2, on the other hand, they removed the package-based approach and moved to a single core library and all the constructs are part of it. Here, you can just import from aws-cdk-lib all the required constructs.
CDK CLI installation
To work with AWS CDK, you will first need to install the CDK CLI.
To install, use the
npm install -g aws-cdk or yarn add aws-cdk
To Upgrade to v2 use:
npm update -g aws-cdk or yarn global upgrade aws-cdk
Once installed, you can use cdk –version on command line to verify your cli installation and version
Also make sure the AWS CLI which is separate from CDK CLI is also installed as it will be needed to configure the aws account credentials when we will deploy it on AWS
Setup a new CDK project
To create a new CDK project, create a new folder with the project name.
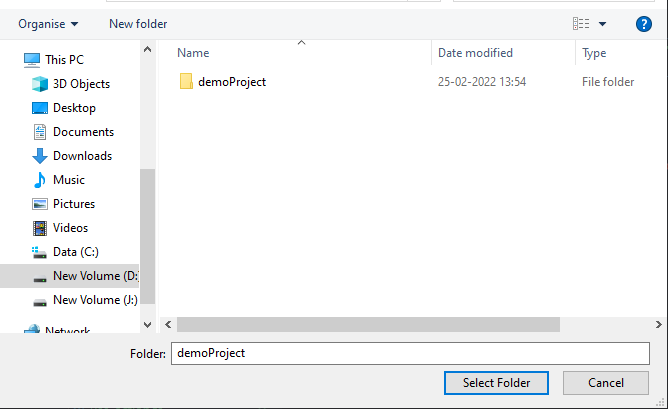
open the new folder in code editor eg. VS codes and open the integrated terminal.
Make sure you are inside the project folder or use:
cd <folder name > on terminal to go in the project folder
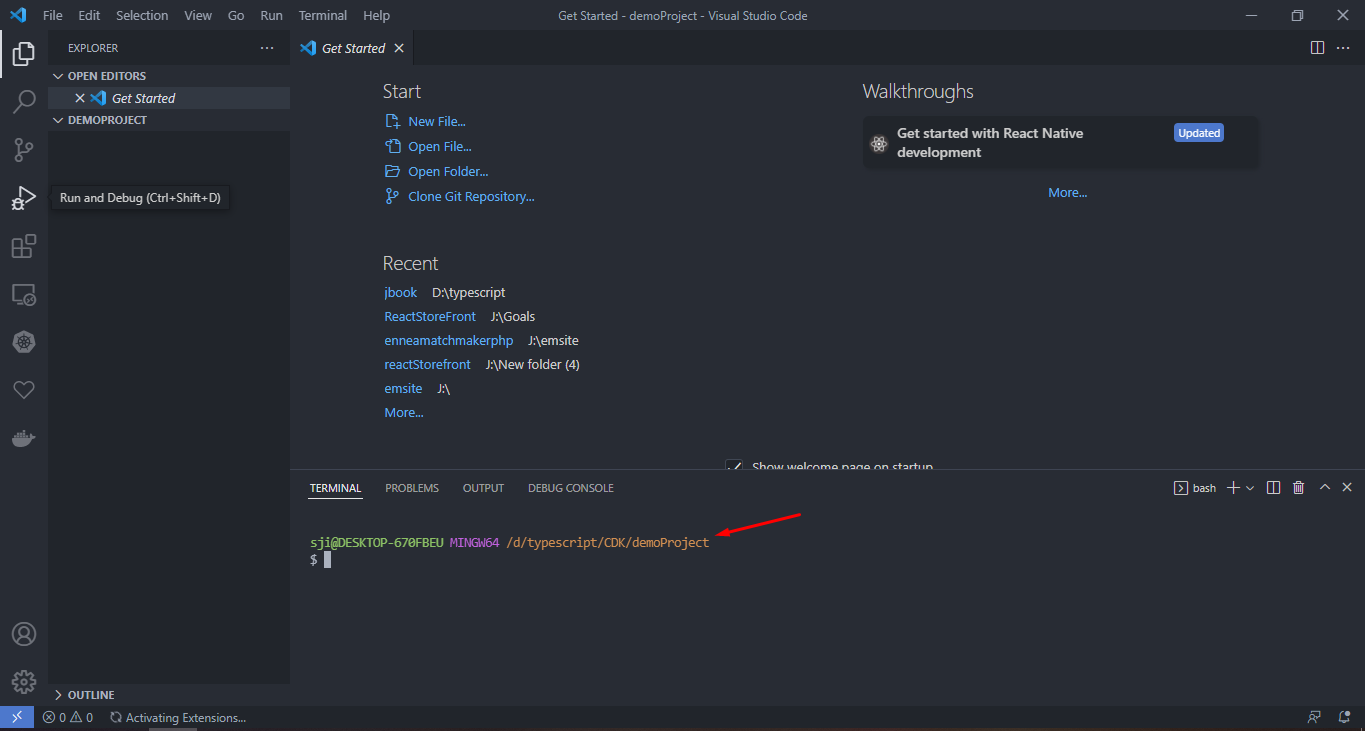
In the terminal, enter the following command
cdk init app --language typescript
This will initialize CDK project with typescript template. You can pass any other supported language as parameters. Currently supported languages are Typescript, javascript, java, python.
You don't need to pass project name explicitly as it will be picked up from the FOLDER name of the project.
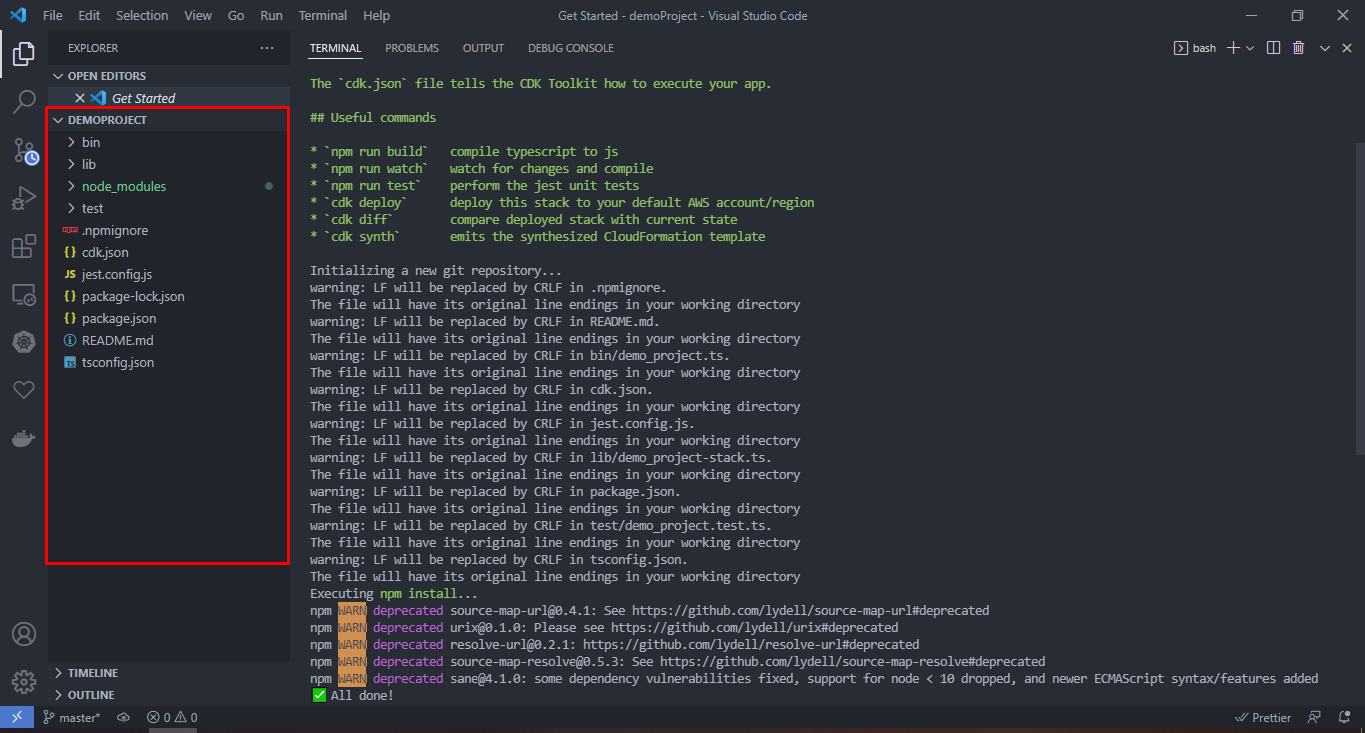
Once it is done generating the files and folders required for your project. you can start working on the project.
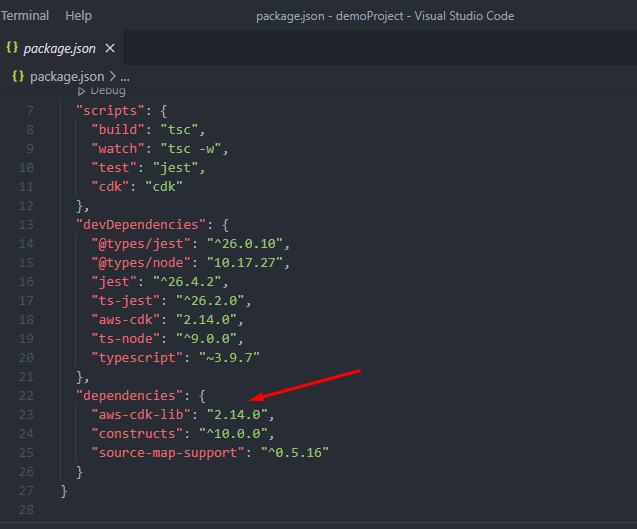
Following will be the contents of the package.json file. Here you will see all the dependencies for your project.
The aws-cdk-lib, which is present, is the main library that will allow us to import the AWS constructs that are needed in our stack.
Inside the project director, there will be a bin folder that contains demo_project.ts file
This file is the root of your stack. Here, you set AWS settings like the AWS region to deploy to and the account to use.
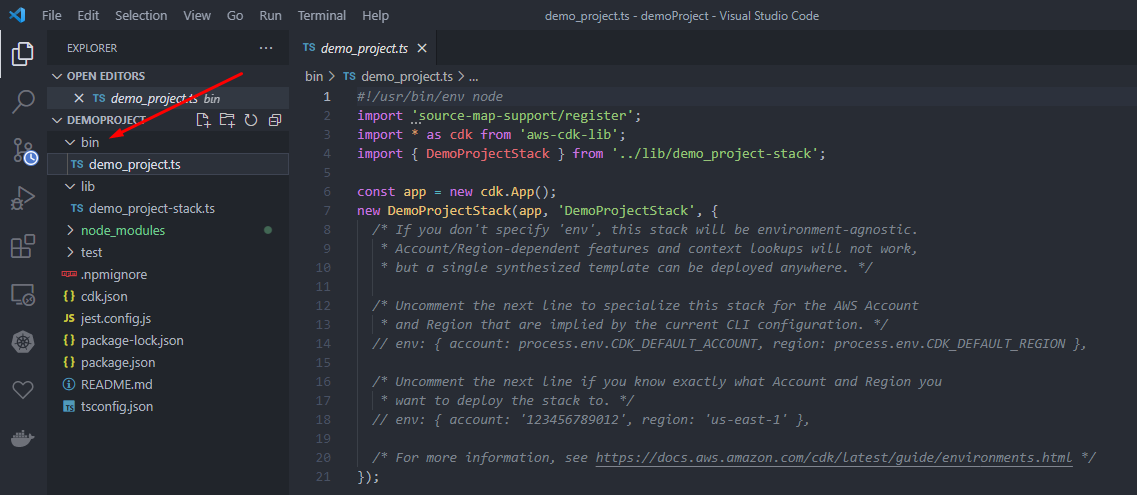
Below the bin folder, there is a lib folder. Here, you specify your stack , i.e create the AWS services needed.
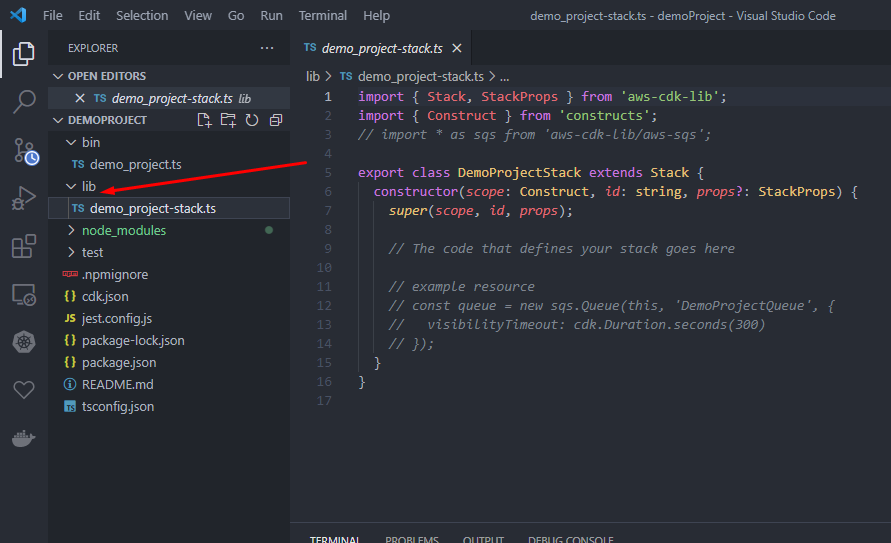
You need to import the construct required from the aws-cdk-lib library and also specify your resources inside the constructor of the class.
For the purpose of the demo, we will create a simple lambda function connected to API gateway which will receive data and save data in dynamo DB.
For this, we will need the following resources:
aws-cdk-lib/aws-lambda
aws-cdk-lib/aws-dynamodb
aws-cdk-lib/aws-apigateway
Since the stack is parsed from top to bottom, first, let’s create the resources needed by our other resources. Let’s create a DynamoDB table;
// resource name variables
const tableName:string = "DemoTable";